Make Your Own Herbal Tea

Sustain the fall harvest by drying your own herbs for tea, a fun activity for the whole family
If you’ve ever grown mint, you may have learned firsthand that it’s the herb that keeps on giving (and then some!). In our Education and Market Gardens, beds overflow with fragrant mint, lemon balm, lavender, and other herbs late into the growing season. Drying them for herbal tea is a tasty way to sustain the harvest and keep what’s grown from being wasted.
We often make herbal tea with school field trip groups around this time of year; it’s one hands-on way we teach young learners about the many gifts the land provides. “It’s a great process for kids and adults to be involved with because it connects you to all the work that goes into making our food,” says Raina Carfaro, a recent post-graduate fellow with our education team who previously worked on an herb farm. “I believe you’re less likely to be wasteful with food, and more likely to care for the plants and animals around you, if you’re connected to the ingredients.”
If your garden is still full of herbs, follow the tips below to make your own tea blend and enjoy them all winter long!
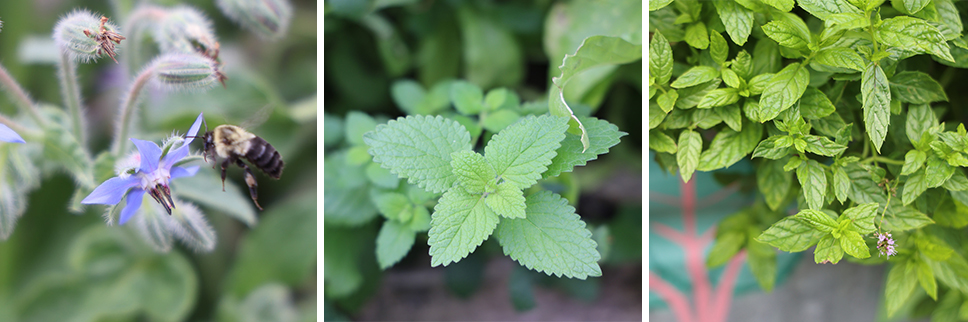
Step 1: Select and Harvest
We typically grow and harvest spearmint; lemon balm; lavender; and lemongrass, all kid-approved for tea. “I also enjoy chamomile, stevia, tulsi, and borage in tea,” adds Raina. If it's the end of the growing season, you can cut your plants all the way down to the ground.
Step 2: Dry
Let your herbs air dry—either by laying them flat or hanging them upside down in small bundles—in a protected spot indoors with good airflow. (Or, if you have a dehydrator, use it to speed up the process.)
The amount of drying time required depends on humidity and temperature, but generally, three to five days is sufficient. “You want to find a sweet spot of letting herbs dry completely but not leaving them out for too long—they will lose flavor over time,” explains Raina. We let our herbs dry in the same slotted crates we use for harvesting, but cooling racks would work well, too. Just make sure to give your herbs a flip midway so they dry evenly. They’re ready to be processed once they’re crispy to the touch.
Step 3: Process
Two common kitchen items—a colander and a mesh strainer—are handy for breaking down your herbs.
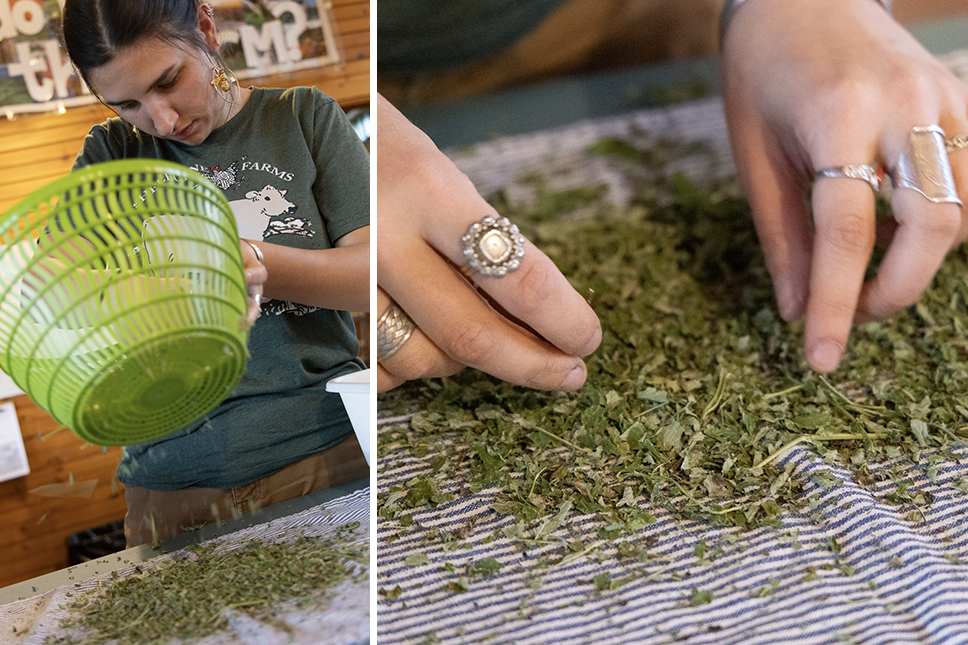
Place a handful of dry herbs in a colander over a kitchen towel. Rub the herbs around the bottom of the colander vigorously to encourage leaves and stems to separate. Allow bits of leaves to fall through the colander onto your towel. Pick out any remaining stems so only leaves remain. “Trust me. This goes a lot faster than stripping each leaf by hand!” advises Raina.
For more delicate, flowery herbs like chamomile and borage, you don’t need to do much processing beyond this. For leafy plants like mint, tulsi, and stevia, you may want to repeat this process one more time with a mesh strainer to break leaves down into smaller bits. Store your dried, processed herbs in air-tight containers.
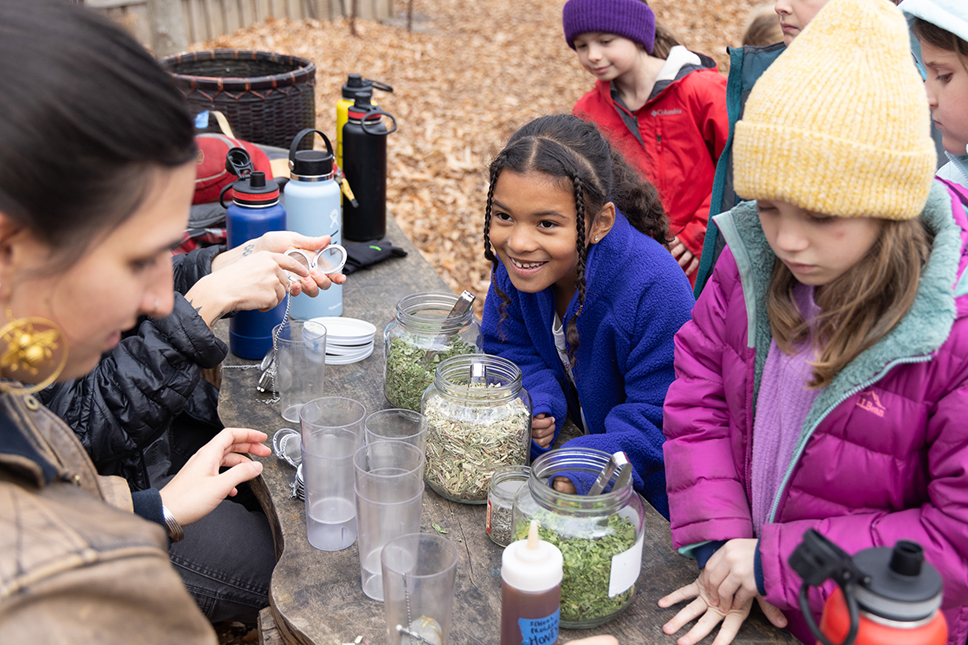
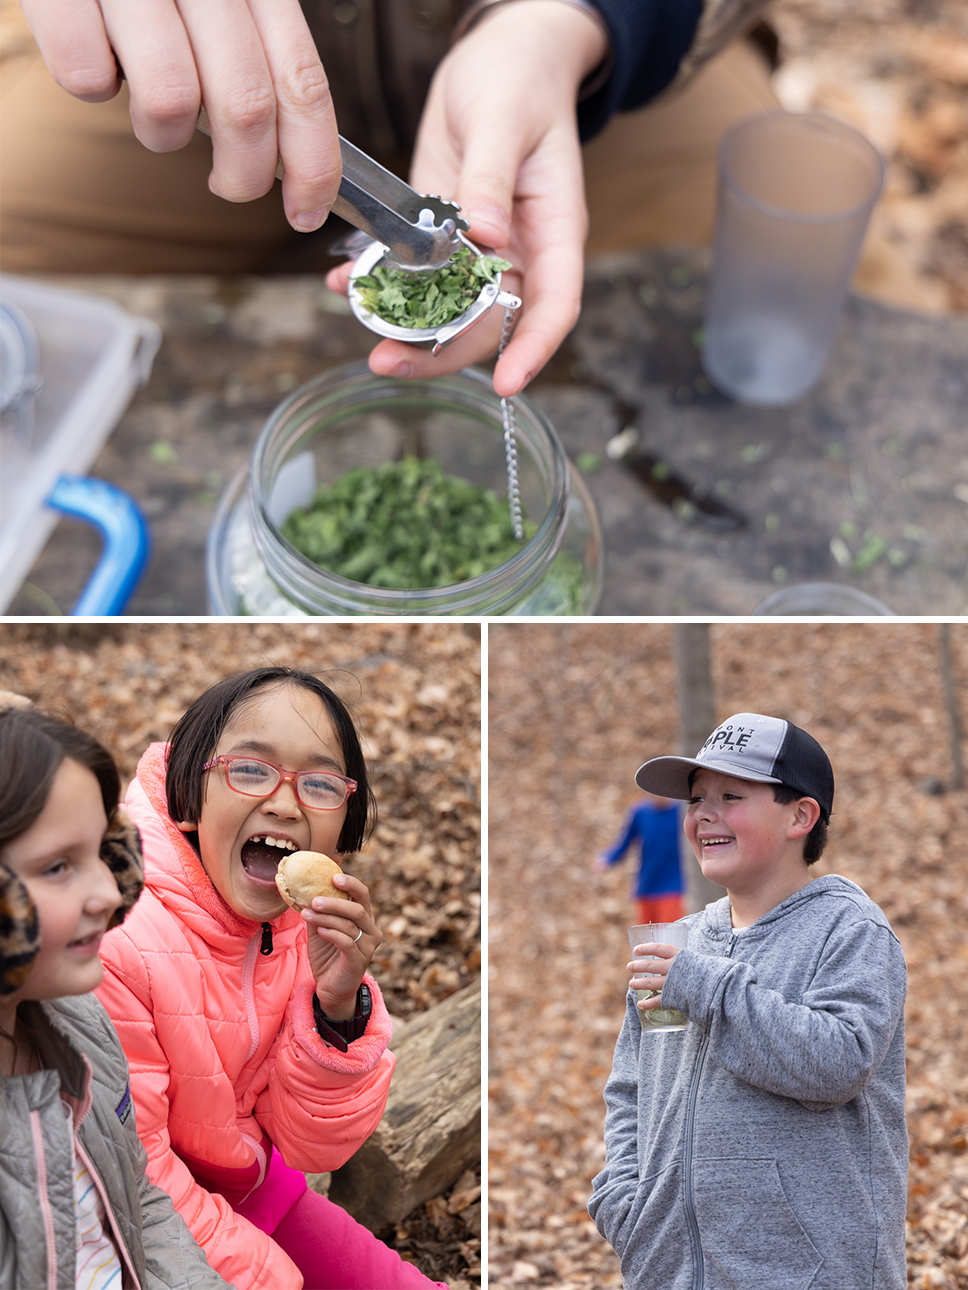
Step 4: Tea Time
It’s time to enjoy! We like to serve a tea buffet to students. Each child receives a small cup and a reusable metal tea ball, and selects whichever herbs they like for their drink (the brave go for a combination of all!). Pack your tea ball with herbs, add hot water and honey, steep, and savor.
Pictured here: we like serving tea along with warm little breads and butter, two other gifts from the land.
Educators: Download a PDF version of an Herbal Tea Bags activity from "Cultivating Joy and Wonder" for more extensions and curricular connections.


