Cook Up a Pizza Party

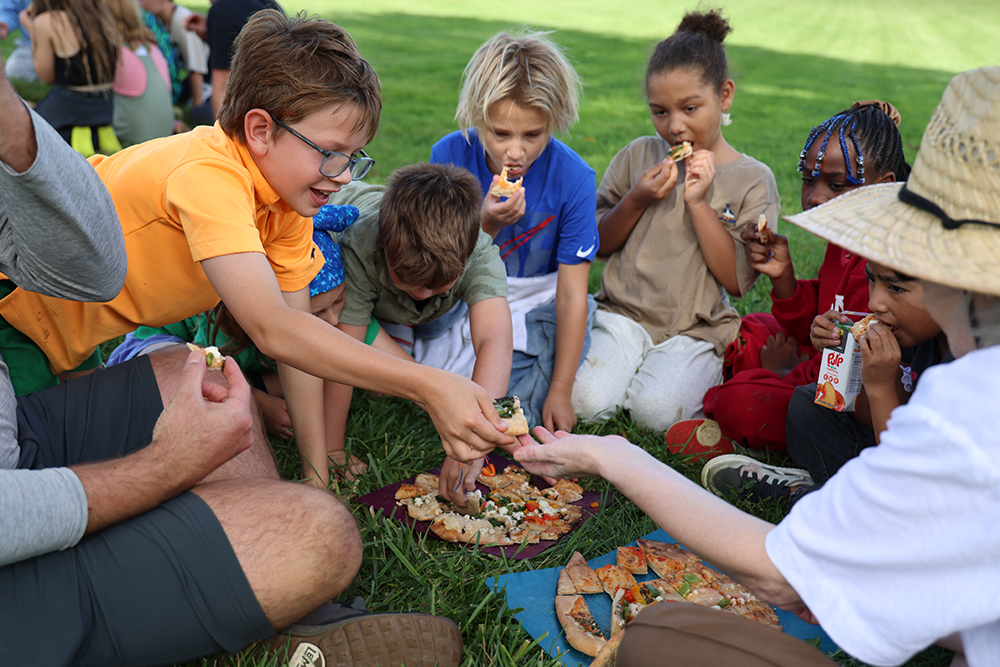
A group of fourth graders sit circled around a pizza, chewing in contented silence. “Every single thing on this pizza is a new food to me,” one student announces to his classmates. He smiles proudly before reaching for seconds.
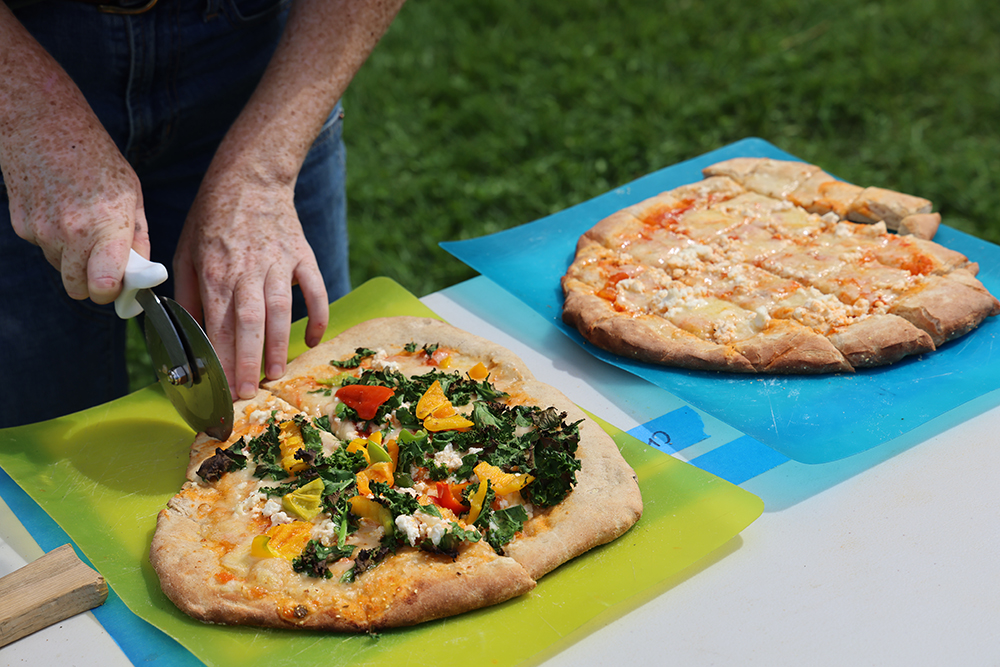
This isn’t your average pie. Fourth graders made the sauce, dough, and cheese just hours before; as the sauce simmered, they harvested toppings from Shelburne Farms’ education garden, including green curly kale, sweet red peppers, fragrant herbs, and orange pansies for a garnish.
“We make a lot of pizzas with kids,” says School Programs Coordinator Mallory Schmackpfeffer. In our Garden Pizza Party program, offered as an early fall field trip, students work together to prepare every component. And summer camp sessions often culminate with pizza parties, too.
Making pizza from scratch accomplishes two key goals. First, it offers kids a better understanding of where their food comes from—that vegetables grow in soil and cheese starts with milk from a cow and are not just pulled from grocery store shelves. Second, it cultivates community, with ample opportunities to contribute to the final dish and appreciate each other’s work.
Have your own pizza party! Below, we’re sharing our education team’s go-to recipes for making each part of a pie with chefs of all ages. First, a few things to consider.
- Dough “only gets more delicious with time,” says Jed Norris, Director of Farm-Based Youth and Early Education Programs. The quick-dough recipe below works well if you only have a few hours. If your schedule allows for delayed gratification, the 72-hour dough recipe is worth the wait. “With summer camps, we make the dough on a Tuesday, let the dough develop flavor throughout the week, and enjoy the pizza together on a Friday.”
- Sauce as it's shared here is “barely a recipe. It comes from the heart,” says Jed. Keeping it simple lets late-season tomatoes shine.
- Cheese on our farm pizzas is often a mix of fresh farmer’s cheese, made with the recipe below, and shredded Shelburne Farms’ six-month cheddar, our meltiest cheese. Shredded Maplebrook Farm mozzarella is also a favorite.
- Toppings are dictated by the garden. Take a page from our young chefs and let the season’s veggie and herb harvest inspire you.
- Cooking pizza at the farm is usually done in our wood-fired oven—which reaches between 800° and 1000°! For crispy results at home, preheat your oven to 500° and use a pizza stone if you have one. Your pizza is done when the cheese is bubbling and the crust is golden brown, about 12–15 minutes.
-
 Andrea Estey
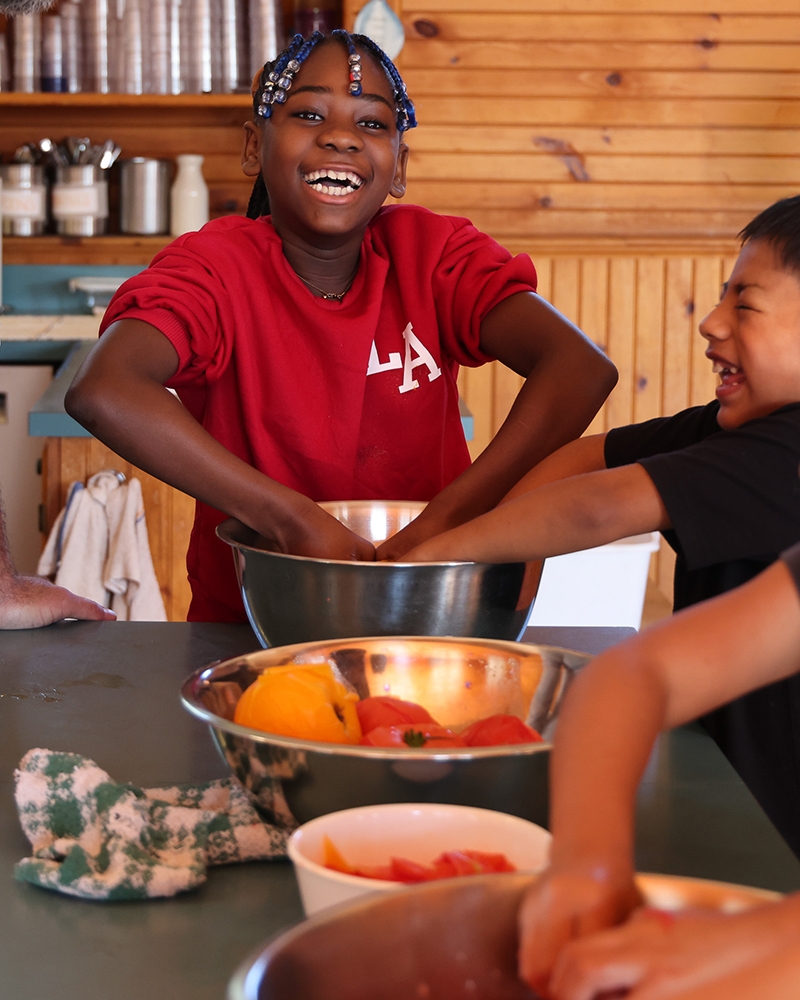
Squishing blanched tomatoes for sauce — great messy fun!
-
 Andrea Estey
Harvesting toppings (like these spoon tomatoes) in the garden.
-
 Andrea Estey
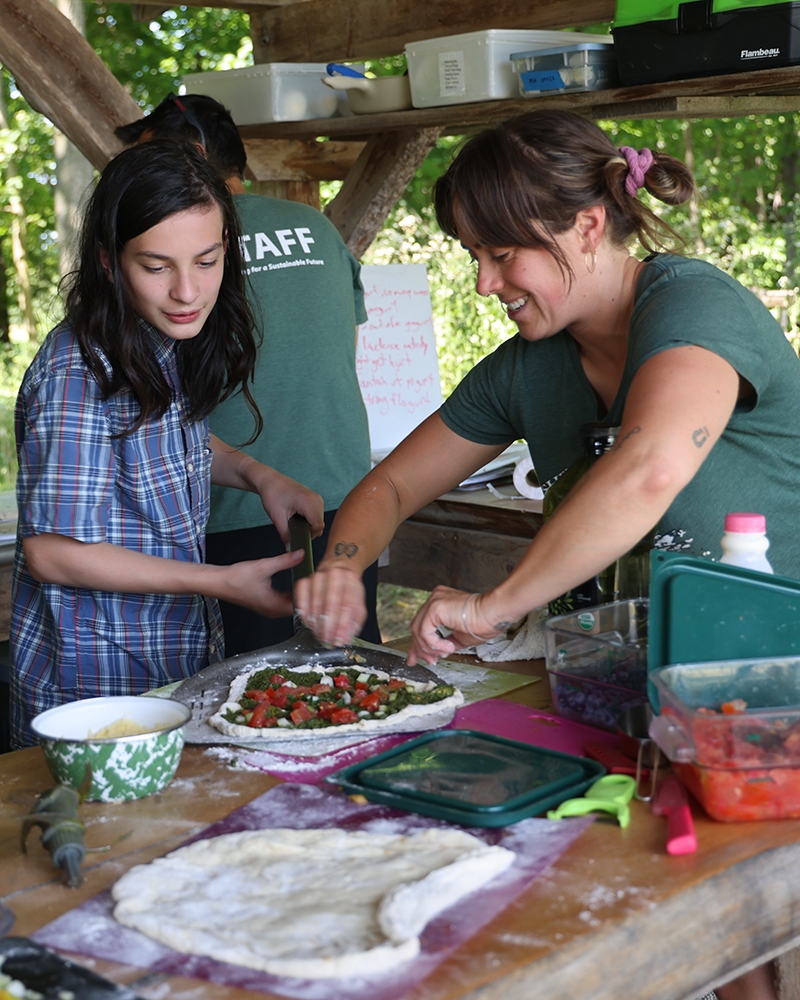
Try swapping pizza sauce for pesto like our summer campers.


Quick Pizza Dough
Ingredients
Yields 4 small pizzas
- 2 cups warm water
- 2 Tbsp maple syrup
- 1 ½ Tbsp instant yeast
- 5–6 cups flour
- ¼ cup olive oil
- 2 tsp salt
Method
- Whisk together the water, syrup, and yeast and let rest for 5 minutes. Add the rest of the ingredients and mix into a dough.
- Knead the dough for 5 minutes on a floured surface, adding more flour if it’s too sticky.
- Let rise for 60–90 minutes or until doubled in size.
- Divide the dough into balls, then stretch or roll them out into pizzas — see above for cooking tips.
72-Hour Pizza Dough
Ingredients
Yields 4 small pizzas, adapted from BakingSteel.com
- 4 ½ cups flour
- ½ tsp instant yeast
- 1 Tbsp salt
- 1 ⅔ cups room temperature water
Method
- In a large bowl, add the flour. Sprinkle the yeast over the top and whisk to distribute evenly. Then add the salt and whisk again to combine.
- Pour in the water and mix with your hands or a whisk until fully combined. Knead for 2–3 minutes until dough is slightly sticky.
- Cover the bowl and let rise at room temp for 24 hours.
- Transfer dough to fridge for 48 hours.
- Remove from fridge and divide into balls. Let proof covered for 3–4 hours at room temp. Make pizzas and enjoy — see above for cooking tips.
Simple Pizza Sauce
Ingredients
- 6 large tomatoes
- ¼ cup olive oil
- 1 small yellow onion
- 3–5 garlic cloves
- 1 6-oz can tomato paste (optional)
- 2–4 bunches of fresh herbs like rosemary, thyme, oregano, and basil (or 1 tbsp Italian seasoning mix) (optional)
- Salt and pepper to taste
Method
- Score (or cut a shallow “x”) in the bottom of each tomato. Blanch the tomatoes in a pot of boiling water for 30 seconds, then remove and allow to cool.
- Peel skins from the tomatoes and, once peeled, mush them with your hands in a big bowl, removing the tough cores as you go (a great job for kids).
- Peel and roughly chop the onion and garlic cloves. (Young chefs can help with this using kid-safe, handheld choppers—pre-cut the onion in half so it has a flat side, making it easier for kids to chop.)
- If using fresh herbs, remove leaves from stems and give large leaves a rough chop, or cut with scissors.
- Heat olive oil in a pot over medium heat, then add onion and a pinch of salt. Once onions turn translucent, add garlic and tomato paste.
- Once fragrant, add your mushed tomatoes and herbs, stirring to combine.
- Simmer over medium-low heat for 30–45 minutes. (Stirring occasionally is optional, but a great job for kids.)
- Remove pan from heat and blend using an immersion blender to desired consistency.
Fresh Farmer's Cheese
Ingredients
- 2 cups whole milk
- 3 Tbsp lemon juice or vinegar
- Salt to taste
Method
- Heat the milk in a sauce pan for 8–10 minutes, stirring constantly. Once the milk reaches ~185° (it should be steamy with small bubbles around the edge, just below a simmer), turn off the heat and remove the pan from the stove.
- Slowly add vinegar or lemon juice and continue to stir until the milk curdles, separating into white curds and clear whey.
- Line a colander with two layers of cheesecloth and set it over a large bowl. Pour the curds and whey into the colander.
- Carefully gather the corners of the cheesecloth together and twist them to form a bag around the curds. Continue twisting to squeeze out as much whey as possible.
- Finally, place the curds into another bowl, add salt to taste, stir, and enjoy.